
Before selecting bathroom tile, establish what will support it. The floor needs to be sound, stable, appropriately dry, sufficiently flat and compatible with the chosen installation system. A durable finish cannot repair a defective base beneath it.
This is one of the bathroom checks before a renovation quote. It affects more than workmanship: finished levels, thresholds, drains, available build-up and the position of fixtures all depend on the floor preparation.
Start by inspecting what is actually there
Renovation may reveal existing tile worth retaining, a covering that must be removed, a timber base, an uneven slab or holes exposed during demolition. The same preparation cannot be prescribed for all of them.
Check cleanliness, strength, stability, dryness and compatibility with a wet-room environment. Look for cracks, weak areas and loose or poorly bonded finishes. If an old covering remains, its adhesion must be established rather than assumed.
Measure the overall flatness and the levels relative to neighboring rooms. Work out the thickness available for preparation, adhesive and tile before the finished surface obstructs a door or creates an awkward threshold.
A bathroom can turn on a few millimeters. The relationships to the shower, bathtub, vanity and drainage need resolving at this stage, not after the tile has arrived.
Why a good finish is not enough
Poor preparation can lead to hollow-sounding tiles, weak joints, cracks, lippage between adjacent edges or an uncomfortable impression of unevenness underfoot.
The bathroom adds water, humidity, temperature changes and cleaning products to everyday use. Showers, tubs, furniture and thresholds can create particularly sensitive junctions. Tile’s resistance to wear does not make it a structural repair or a substitute for water management.
Preparation is therefore part of design as well as execution. The finished appearance depends on the concealed system remaining appropriate to the loads, moisture and installation method.
What the older-house case revealed
In the documented renovation, removal exposed an irregular old floor, partly with timber over an imperfect base. There were holes and weak areas, especially near the doorway to the hall.
Covering it directly would have carried those uncertainties into the new finish. Instead, the sequence was removal, inspection, correction of defects and then an appropriate fiber-reinforced smoothing compound to improve the surface.
The point is not that every old home needs that product. Older substrates can be less standardized, conceal defects or have changed levels over time. The decision follows what removal and inspection reveal.
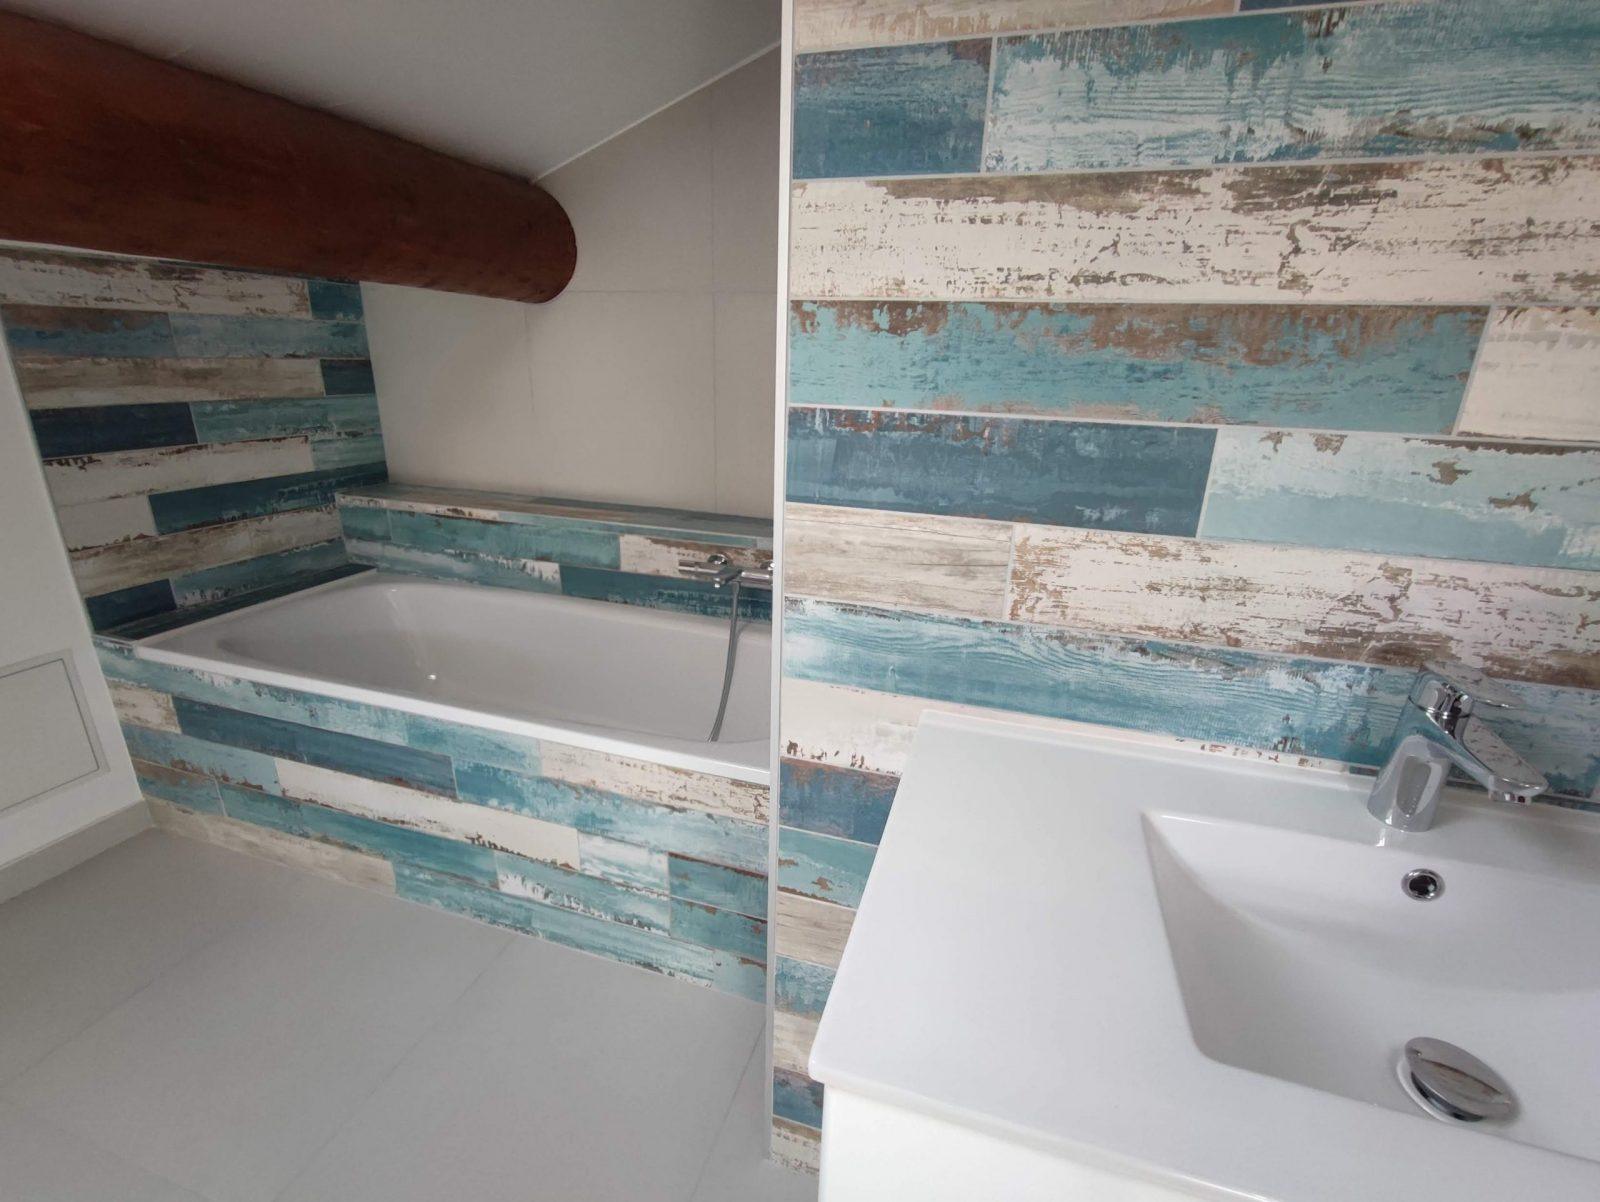
The first photograph shows the stripped room under exposed beams and a roof window, before the finish conceals the preparation. The completed view includes a white bathtub and basin, pale floor and blue-toned wood-effect wall tiles.
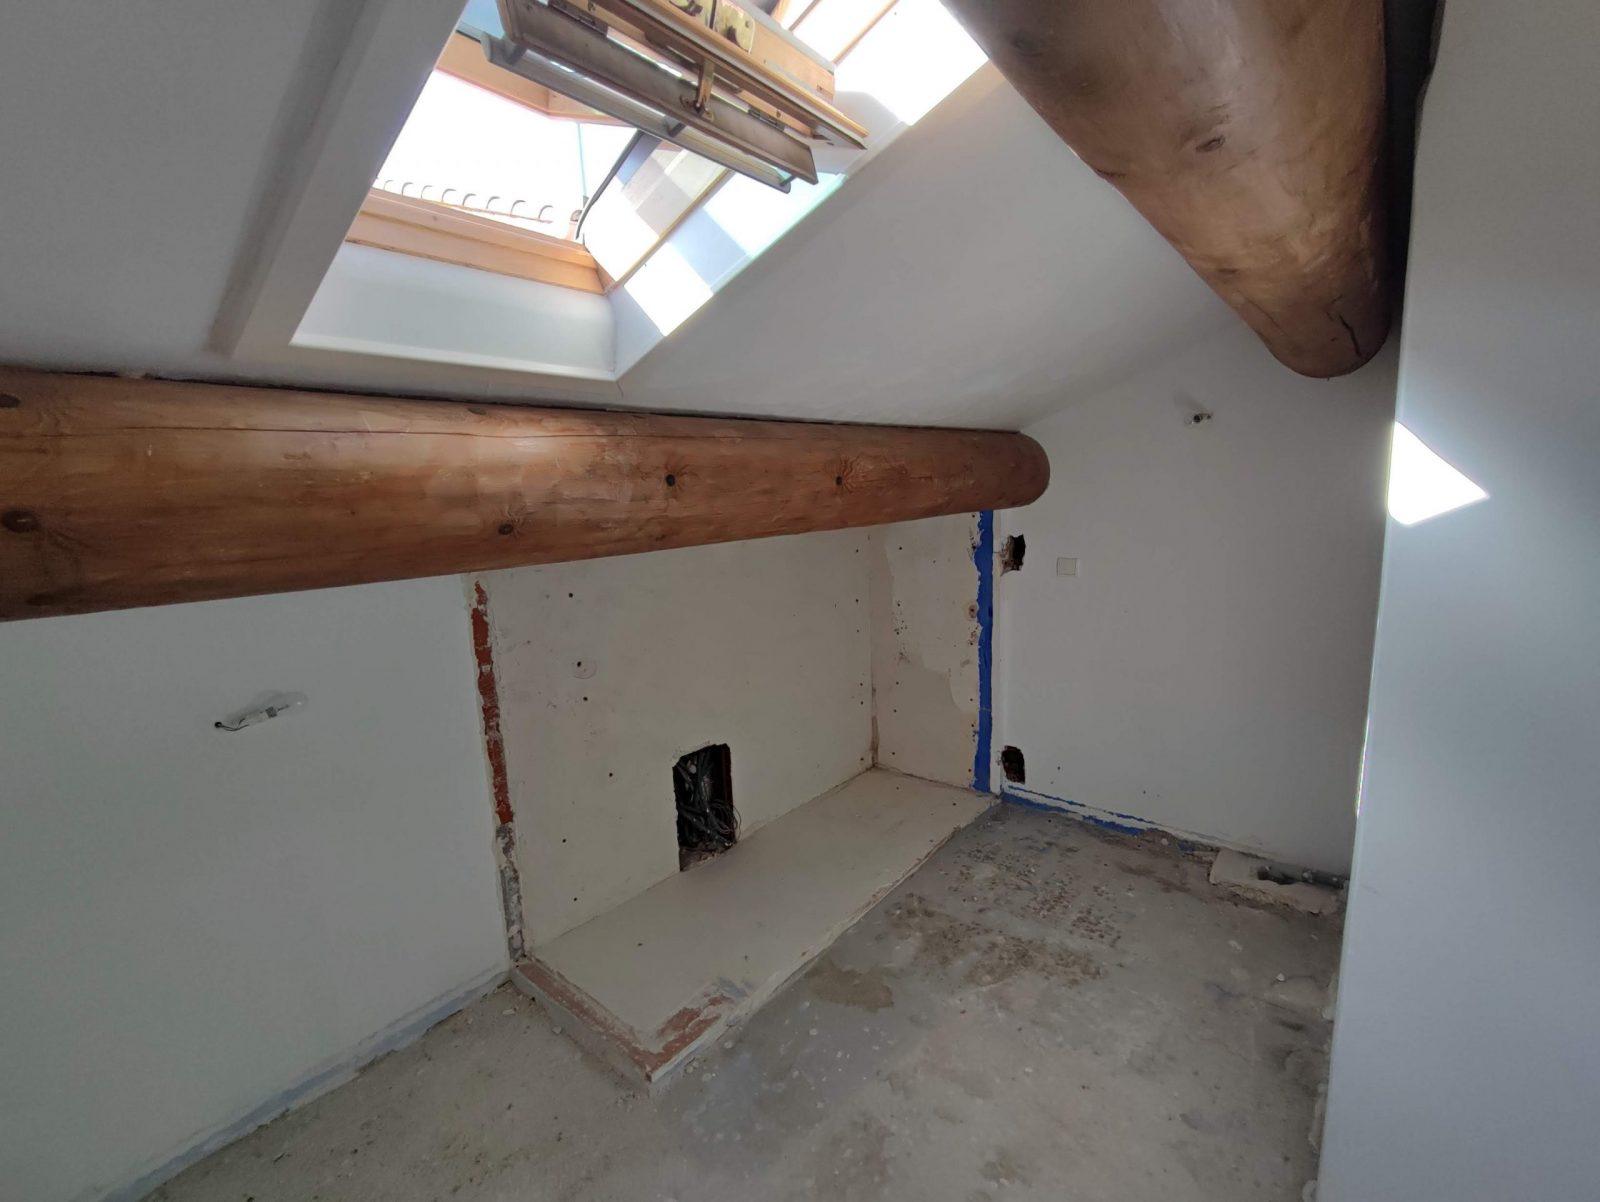
Those photographs show the construction context and finished room. They do not, by themselves, verify every hidden layer; the technical sequence described in the case supplies that information.
See our projects in video
Real floor plans and renovations explained step by step on the ArchiWorking YouTube channel. Watch how spaces are reworked before the works begin.
Smoothing improves the surface, not an unsound structure
A suitable smoothing or leveling compound can correct limited irregularity before tiling. Other floors first require removal, local repair or a more substantial solution before such a product is appropriate.
Fiber reinforcement can be useful within systems approved for particular older or constrained substrates. It does not replace structural repair, make an unstable floor sound or permit arbitrary movement beneath rigid tile.
Select the product for the actual substrate, the extent of the defect and the final finish. Check the complete system rather than choosing solely because its packaging mentions renovation.
Flatness also differs from absolute level. A drained wet area may need a designed fall; preparation should preserve the required drainage geometry, not automatically make every part horizontal.
This stage helps decide what to retain, what to remove and what needs localized or wider correction. The bathroom renovation and transformation guide places those choices within the larger project.
Primer and adhesive belong to a compatible system
Once the base has been corrected, further preparation may still be necessary. A primer can be required for the relevant substrate and adhesive or smoothing system, but its type and sequence follow the manufacturer’s instructions.
Porous, dense, old and newly smoothed surfaces do not all receive the same treatment. A generic primer is not a guarantee of adhesion where the surface remains dusty, weak or incompatible.
Check the primer, tile adhesive, grout, required waterproofing and sensitive junction details together for the wet area. Tile and grout are not, by themselves, a complete waterproofing design.
Allow the specified preparation and curing stages. The aim is a coherent assembly, not a collection of individually familiar products combined without confirmation that they work together.
Tile size makes substrate quality visible
Certain large-format installations call for adhesive on the substrate and back-buttering of the tile to achieve the required contact. Follow the specified method for the format, substrate and adhesive; a second layer of adhesive is not a substitute for correcting the floor first.
Small tiles, graphic patterns and herringbone layouts can also reveal irregularities. Repeated joints and changes of direction make uneven edges or distorted lines noticeable.
There is no single preparation method determined by appearance alone. Substrate, finished levels, tile format, layout, moisture exposure and site constraints all participate.
Coordinate the rest of the bathroom before work
The source’s accompanying video addresses the wider checks before quotations and construction: water supplies, drainage, electricity, available heights, fitting constraints, furniture, shower, bathtub and finishes.
Floor preparation sits among those decisions because a change to its build-up affects several other trades. It should not be treated as an isolated task discovered only when the tiler starts.
A sound approach is to inspect, establish the necessary repairs, select the compatible preparation and installation system, coordinate levels and then proceed with the finish. The concealed work supports the visible result.
Frequently asked questions
Does every bathroom floor need leveling compound?
No. Inspect the actual condition first. A sound surface already within the required flatness may not need it, while a defective base may need repairs that a smoothing layer cannot provide.
Can new tile go over an existing bathroom covering?
Sometimes, if the existing layer is stable, well bonded, clean and compatible with the new system and build-up. Cracked, loose, damp or uneven areas need assessment and correction rather than automatic over-tiling.
Why use primer?
Where specified, it helps the relevant surface and installation layer bond appropriately. The correct product depends on the substrate and system; it should not be chosen as a universal extra coat for every floor.
Is a fiber-reinforced product enough in an old house?
Not on its own. It may form part of a suitable preparation for limited conditions, but it does not repair structural weakness or eliminate the need to inspect movement and damaged areas.
How can lippage be avoided?
Check flatness before laying, correct defects, use a compatible adhesive and follow the installation method for the selected format and pattern. Good tiling begins with the support, not only with adjustments at the tile surface.